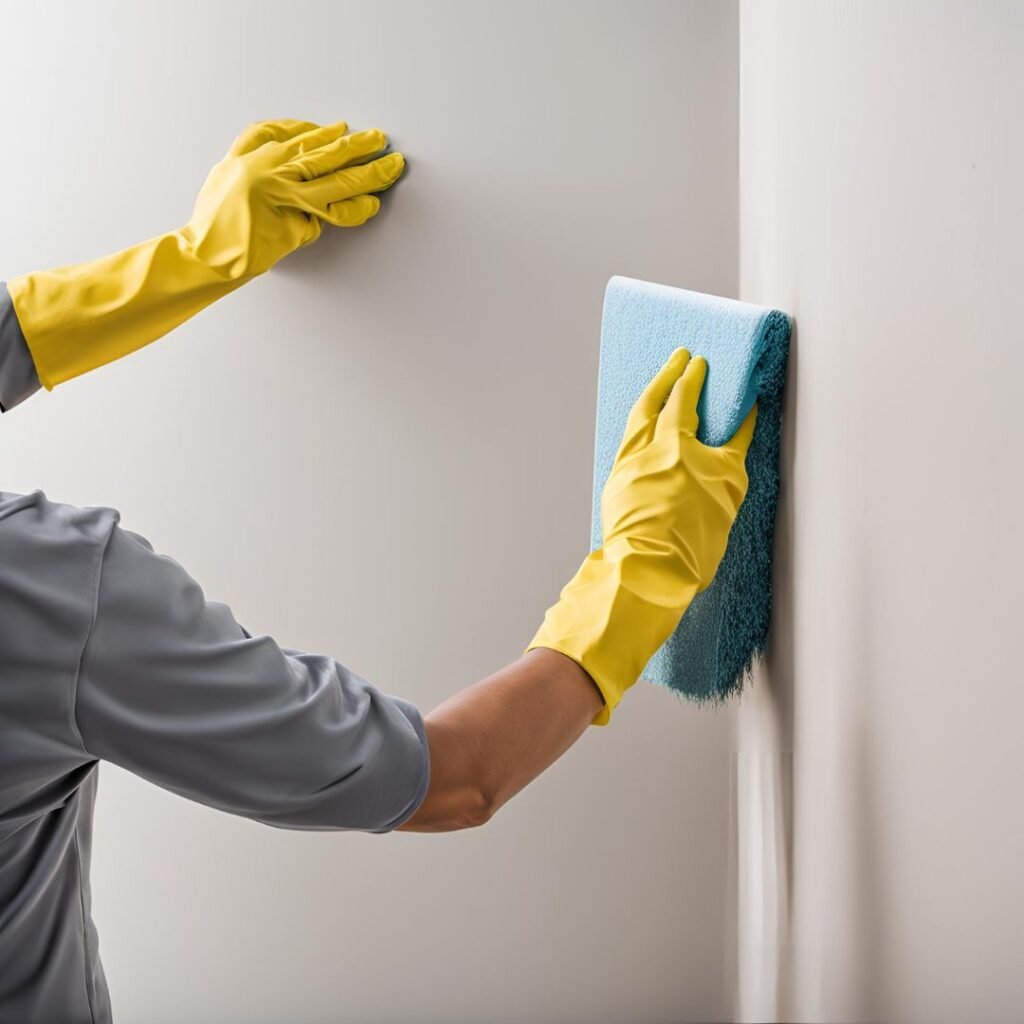
How to Clean Walls Before Painting: Essential Steps for a Flawless Finish
Cleaning your walls is a crucial step in the painting process. Skipping this step or doing it improperly can result in poor paint adhesion, leading to an uneven or peeling finish, as paint won’t stick well to dirty surfaces.
Over time, walls accumulate dust, dirt, and grime. To achieve a smooth, long-lasting paint job, it’s essential to thoroughly clean your walls before painting. The good news is that preparing your walls for paint is easier than it may seem.

Step 1: Prepare the Room
Start by organizing your space. Move pictures, mirrors, and furniture to the center of the room and remove soft furnishings and window treatments. Turn off the electricity at the circuit breaker and cover outlets, light switches, and phone connections with masking tape to prevent moisture from entering.
Step 2: Dust and Wash the Walls
Begin by dusting the walls with a vacuum cleaner or microfiber cloth. Then, wash the walls using a non-abrasive sponge and a damp cloth, starting from the bottom and working your way up. Clean in small sections, using a soft towel to wipe off excess moisture as you go. Pay special attention to the middle of the walls, as this area tends to collect the most marks and stains. For a consistent result, aim to clean one full wall at a time using the same technique throughout.
Following these steps will ensure your walls are clean and prepped, giving your paint the best surface to adhere to for a perfect finish.
What are safe chemicals to use when cleaning walls for painting?
When preparing walls for painting, it’s essential to use cleaning solutions that are both effective and safe. Harsh chemicals can damage surfaces or leave residues that affect paint adhesion. Fortunately, there are several safe options to choose from.
- Mild Dish Soap: A few drops of mild dish soap mixed with warm water is ideal for removing everyday dirt and grime without damaging walls.
- Vinegar and Water: A natural, eco-friendly solution, vinegar mixed with water (1:1 ratio) is effective for cutting through grease and mildew.
- TSP (Trisodium Phosphate): TSP is a powerful cleaner often used for tough stains, but be sure to use a diluted solution and wear gloves, as it can be irritating to the skin.
- Baking Soda Paste: For spot cleaning stubborn marks or stains, a paste of baking soda and water provides gentle abrasion without harming surfaces.
- Non-Abrasive Cleaners: Look for non-toxic, non-abrasive commercial cleaners that are safe for walls, particularly ones labeled for pre-paint cleaning.
These cleaning solutions will help prepare your walls for painting while ensuring safety and preventing any damage to the surface.
How to Prepare Your Home for Painting: Essential Steps for a Successful Project?
Before painting the walls in your home, proper preparation is key to achieving a smooth, professional finish. Here’s what you need to do:
1. Choose the Right Paint
Start by selecting a paint color and type that best suits your needs:
- Latex Paint: Ideal for walls and masonry, it’s easy to apply, dries quickly, and cleans up easily. It often has a glossy finish.
- Oil-Based Paint: Suitable for various surfaces, it offers strong adhesion and is resistant to stains.
- Finish Options: Flat paints provide a matte look, while satin and glossy finishes add shine and are better for trim and high-traffic areas.
2. Select the Correct Brushes and Rollers
Use the right tools for the job:
- Natural Brushes: Best for oil-based paints.
- Synthetic Brushes (Acrylic/Acrylic-Blend): Ideal for latex paints.
- Roller Brushes: Great for covering large wall areas quickly.
- Angled Brushes: Perfect for detailed work around trim and edges.
3. Prepare the Room
- Remove draperies, pictures, mirrors, and other wall decorations.
- Move furniture to the center of the room and cover it with drop cloths or tarps to protect from paint splatters.
- Lay down protective coverings over the floor and any rugs.
- Use masking tape to cover trim, outlet covers, or surfaces you don’t want painted.
4. Consider Skipping Tape for Detailed Areas
If you’re confident in your painting skills, you can skip taping around trim and instead use an angled brush for precision. This reduces the amount of tape you’ll need to peel off once the job is done.
Following these steps will ensure that your home is well-prepared and your painting project goes smoothly from start to finish.
Essential Tips for Ventilation, Preparation, and Priming Before Painting
Before you begin painting, ensure the room is well-ventilated. Open windows and use fans to maintain airflow. If using oil-based paints, avoid open flames, smoking, and electrical ignition sources, as these paints are flammable. read more tips here.
Surface Preparation
- Clean the Walls: Wash the surface with soap and water, and let it air dry completely.
- Repair: Patch any cracks or gaps in the walls. For a smooth finish, sand any rough areas (wear a respirator).
- Remove Wallpaper: If wallpaper is present, it should be removed before painting.
Priming for a Perfect Finish
Select a primer based on the material you’re painting. Applying primer ensures proper adhesion and enhances the vibrancy of your paint color.
If you’d prefer to leave the task to professionals, consider contacting Sydney Elite Painters for a seamless, high-quality interior painting service.
