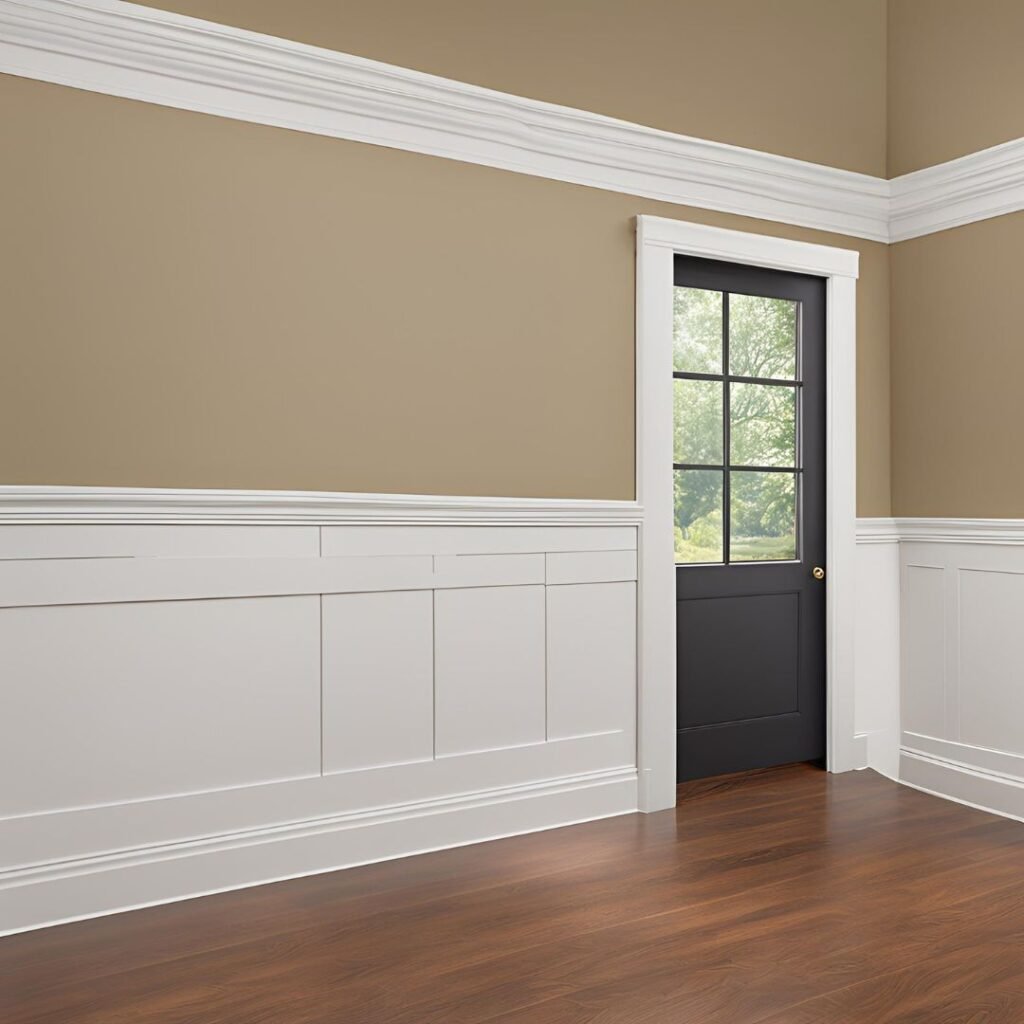
When it comes to achieving a flawless finish on trim and baseboards, choosing the right paint brush is crucial. In this guide, we’ll explore the best paint brushes specifically designed for trim and baseboard painting to help you achieve professional-quality results in your home improvement projects. Discover the features to look for and how to select the perfect brush for your next painting job!

Essential Steps to Prep Your Baseboards for Painting
Preparing your baseboards before painting is key to achieving a smooth and professional finish. In this article, we’ll outline the essential steps to properly prep your baseboards, ensuring they are clean, primed, and ready for a fresh coat of paint. Learn how to effectively remove dust and grime, fill any gaps or imperfections, and choose the right primer for a flawless application. Get your baseboards ready for a stunning transformation!
The first step in prepping your baseboards and trim for painting is to wipe them down with a damp cloth. This removes any dust or debris that may have accumulated. Even if they appear clean, a quick wipe can prevent chunky particles or unwanted grime from mixing into your paint, ensuring a smoother finish.
The amount of painter’s tape you’ll need depends on your experience level. If you’re a beginner, it’s wise to apply one-inch painter’s tape along the edges of the baseboards, both on the floor and wall sides. This extra precaution can help create clean lines and avoid messy edges. On the other hand, if you’re a seasoned pro, you might feel comfortable cutting in along the top of the baseboards by hand, using tape primarily on the floor side for added protection.
What is the Most Effective Method for Painting Trim and Baseboards?
Painting trim and baseboards can dramatically enhance the look of your space, but achieving a professional finish requires the right approach. In this article, we’ll discuss the best techniques for painting trim and baseboards, including essential tools, preparation steps, and tips for a flawless application. Learn how to select the right paint, apply it smoothly, and achieve clean lines for stunning results in your home improvement projects!
Once you’ve thoroughly cleaned the baseboards and allowed them to dry completely, it’s time to address any holes or imperfections.
Using a simple painter’s spackling paste is ideal for this task. For optimal results, apply the putty into the holes with your finger and gently wipe away any excess with a soft cloth.
With all preparatory work complete, you can begin painting your trim and baseboards. Use long, smooth horizontal strokes that run parallel to the floor. The number of coats required will depend on the type of paint used, but typically, one coat is sufficient for baseboards unless you’re making a significant color change. After painting all surfaces, carefully remove the painter’s tape and touch up any lines as needed.
While baseboards may not receive the same attention as other freshly painted areas, they play a vital role in enhancing the overall look of your space, making the entire room feel more polished and inviting.
Is it better to paint baseboards with brush or roller?
When deciding whether to paint baseboards with a brush or a roller, it’s generally better to use a brush. Here’s why:
- Precision: A brush offers more control, especially for the edges of baseboards, where neat lines are essential.
- Smooth Finish: A high-quality, angled brush ensures a smooth, even coat of paint without the roller texture, which is ideal for the detailed surface of baseboards.
- Tight Spots: Baseboards often have tight corners that a roller can’t easily reach.
While rollers are quicker for larger surfaces, when it comes to baseboards, a 5 to 6 cm angled brush is the preferred choice for achieving a professional finish. You can use a small roller for initial coverage, but a brush is best for the finishing touches to ensure clean lines and even application.
Also read: How to Paint Decks: Discover the Best Paint Options for Your Deck
How do you paint trim and baseboards without brush marks?
To paint trim and baseboards without brush marks, follow these steps for a smooth, professional finish:
- Choose the Right Brush: Use a high-quality, angled brush (around 5-6 cm) made for trim work. The bristles should be soft but firm to provide control while minimizing streaks.
- Prep the Surface: Sand the baseboards and trim lightly with fine-grit sandpaper to create a smooth surface. Clean the surface thoroughly to remove dust and debris.
- Use the Right Paint: Opt for a water-based, enamel paint or a paint specifically designed for trim. These paints level out better and dry with fewer brush marks.
- Don’t Overload the Brush: Dip only the tip of the brush into the paint (about one-third of the bristle length) to avoid excess paint buildup, which can cause streaking.
- Apply Thin Coats: Instead of one thick coat, apply multiple thin coats of paint. This reduces the risk of brush marks and ensures an even finish.
- Brush in Long, Smooth Strokes: Use long, even strokes in the direction of the trim or baseboard to create a smooth appearance. Avoid back-brushing once the paint starts drying.
- Maintain a Wet Edge: Always keep a wet edge by working in small sections and blending freshly painted areas into the previously painted ones.
- Sand Between Coats: For an ultra-smooth finish, sand lightly between coats using fine-grit sandpaper and wipe off the dust before applying the next coat.
By following these tips, you can achieve a flawless, brush-mark-free finish on your trim and baseboards.
